- Enable Music Rebalance In Izotope Rx 7 Crack
- Izotope Rx 7 Manual Pdf
- Enable Music Rebalance In Izotope Rx 7 Reviews
IZotope RX 7 Standard, the industry standard in audio repair, introduces new features and workflows that allow you to easily edit, repair, and restore audio to pristine condition both in post and music production. Effortlessly fix clicks, pops, hum, noise with Repair Assistant, rebalance music or isolate vocals with Music Rebalance,. ENABLE I/O METERS: Turns the level meters on or off. SHOW PEAK HOLD: Turns the peak hold display for the level meters on or off. Some of the processing modes in the RX plug-ins are very CPU intensive and result in a delay of the signal. That is, RX needs some time to process the audio before it can send it back to the host application.
Presets

From the Preset Manager, you can select from default presets and presets you have saved.
To browse presets, press the Presets button and click the name of any preset. If you like what you hear, press the Presets button again to hide the window.
- ADD: Clicking this button adds the current settings as a new preset. You can type a name and optionally add comments for the preset.Note
- Note that a few keys such as * or / cannot be used as preset names. If you try to type these characters in the name they will be ignored.
- This is because presets are stored as .XML files for easy backup and transferring. Their filenames are the same as the names you give the presets (for easy reference) and therefore characters that are not allowed in Windows file names are not allowed in preset names.
- Note that a few keys such as * or / cannot be used as preset names. If you try to type these characters in the name they will be ignored.
- REMOVE: To permanently delete a preset, select the preset from the list and click the Remove button.
- UPDATE: When you click the Update button, your current settings before you opened the preset window are assigned to the selected preset (highlighted). This is useful for selecting a preset, tweaking it, and saving your changes to the existing preset.
- IMPORT: Imports a preset into the preset folder.
- FOLDER: Opens a dialog that shows your current preset folder. You can also select a new preset folder from this dialog.
- RENAMING PRESETS: You can double click on the name of a preset to enter the edit mode and then type a new name for that preset.
- CANCEL: Press Escape to close the preset system dialog and revert to the settings when you opened the preset manager.
History
Enable Music Rebalance In Izotope Rx 7 Crack
Pressing the History button opens the History window. This view gives you a list of all of the actions you’ve performed inside the plug-in, allowing you to step back to previous settings and undo changes.
- CLEAR: Resets the History list.
I/O Meters
- Select plug-ins feature an input and output gain control and input and output metering.
- In stereo instances of the plug-ins, the gain controls are linked stereo gains.
Options
General Options
Authorization & Updates
The Authoriztion and Updates section of the General Options tab includes the following options:
- Updates
- Check now: Opens the iZotope Product Portal application and checks for available updates to RX.
- Check now: Opens the iZotope Product Portal application and checks for available updates to RX.
- Authorization: Learn more in the Authorization chapter.
Host Performance
- View Buffers: Shows buffer information from the host’s track. This is useful for diagnosing problems like audio dropouts or rare problems caused by inconsistent buffer sizes.
- Host Sync: Shows information reported from the host program about playback location, loop and transport state, tempo, etc. (when applicable). This is useful for diagnosing some rare timeline-related problems in specific DAWs.
- Enable Multicore (Spectral De-noise only) This option is available in the Spectral De-noise plug-in. Enabling this option lets RX process Spectral De-noise Quality Modes C and D more efficiently by spreading its processing across multiple computer cores.
I/O Options
The RX I/O meter displays a lower bar representing the average level (RMS) and a higher bar representing peak level. There is also a moving line above the bar representing the most recent peak level or peak hold.
- PEAK HOLD TIME: If peak hold is on, you can choose different peak hold times. The choices are 250 ms, 500 ms, 1000 ms, 5000 ms and Infinite. If set to infinite, the peak value will be held until you click on the current peak display.
- INTEGRATION TIME: Specifies the integration time for RMS calculation. In most RMS meters, the integration time is set to around 300 ms, which makes the RMS meter similar in ballistics to VU meters.
- READOUT: Allows you to control what level value is displayed on top of the meters: peak or actual (real time). If set to Max Peak, the display will show the highest peak level. If set to Current, the display will reflect the meter’s current value.
- ENABLE I/O METERS: Turns the level meters on or off.
- SHOW PEAK HOLD: Turns the peak hold display for the level meters on or off.
Latency
Some of the processing modes in the RX plug-ins are very CPU intensive and result in a delay of the signal. That is, RX needs some time to process the audio before it can send it back to the host application. That time represents a delay when listening or mixing down.
Izotope Rx 7 Manual Pdf
Most modern DAWs and NLEs provide delay compensation—a means for RX plug-ins to tell the application it has delayed the signal, and the host application should “undo” the delay on the track (usually by adding compensating delays to other tracks in real-time processing, or by adjusting the rendered file after processing in offline processing).
When Enable Delay Compensation is enabled in the Latency menu, we will report our latency to the host application.
When Enable Delay Compensation is enabled in the Latency menu, we will report our latency to the host application.
If your application doesn’t support it, or skips/stutters with this option on, you can always manually correct the delay offset in the host application (manually edit out the short delay of silence). To help you perform manual correction, the delay RX introduces is shown below as Total System Delay in both samples and milliseconds.
Overview
On Mac, the RX Audio Editor supports the use of VST2 and AudioUnit (AU) plug-ins. On Windows, the RX Audio Editor supports the use of VST2 and DirectX plug-ins. To enable the use of plug-in hosting, choose the Plug-in module from the Module List.
Using 32-bit plug-ins in the RX Audio Editor
To use 32-bit AU, VST2 or DirectX plug-ins in the RX Audio Editor, you must run the 32-bit application.
- On Windows, open the “RX 7 Audio Editor” application from the Start menu or by double-clicking on the Desktop shortcut. Not the “RX 7 Audio Editor (64-bit)” application.
- On Mac, navigate to your Applications folder and find iZotope RX 7 Audio Editor. Right-click on the the application and select “Get Info” and check the “Open in 32-bit mode” option.
- Note: When used as a VST in RX, iZotope Insight’s loudness history does not run during offline processing. You will not see metering details, unless you are using Preview.
Selection Based Processing
With a plug-in loaded in the Plug-in module, you can make use of the same audio selection tools and Preview and Compare options that are available for other RX modules.
This can allow for very detailed processing and greater accuracy when working with your existing plug-ins, giving you audio selection options unavailable in a traditional DAW setup.
Enable Music Rebalance In Izotope Rx 7 Reviews
Plug-in Presets
Only one plug-in may be loaded at a time. However, with the use of presets, multiple settings and presets may be recalled quickly in order to move between plug-in instances.
When your plug-in is configured the way you would like it, select Add Preset from the small Preset drop down arrow.
Assign Presets to Keyboard Shortcuts
Once your preset is named and saved, you can then assign that plug-in and preset to a keyboard shortcut with the Set Preset Shortcut feature.
This keyboard shortcut will recall not only the plug-in settings, but the plug-in instance itself. As such, if a preset is saved with Plug-in 1, and Plug-in 2 is currently loaded into RX’s plug-in window, pressing the preset keyboard shortcut will re-instantiate Plug-in 1 and recall the exact settings when the preset was made.
Oct 15, 2014 Don't know exactly what you're talking about but this may help. Go to MusicGarageband in your Finder window. There should be your Garageband music file. 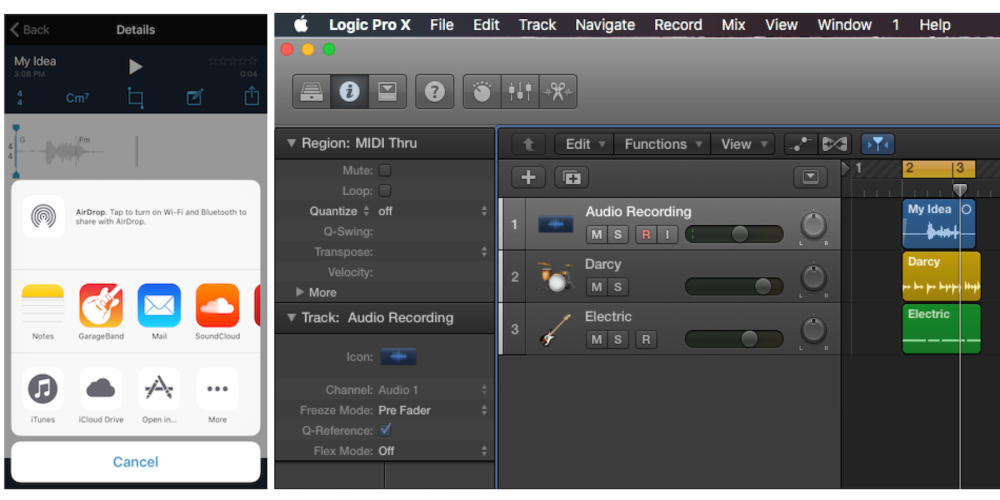 Jan 24, 2019 The very easiest way to get projects from GarageBand on iOS to GarageBand on the Mac is to store those projects in iCloud Drive. If you do that, all you need is to double-click the project in the. Oct 19, 2017 In GarageBand, you may need to force the app to open the file by switching to GarageBand itself, then tapping the little + at top left. Then, choose iCloud Drive from the list. This opens up a. The most obvious difference between using GarageBand on iOS over Mac is the use of the touchscreen. This allows for simple controls that would otherwise have to be done using a mouse or trackpad.
This can allow for very quick editing, processing, and recall of plug-in instances and settings, providing a quicker workflow than traditional DAW track/mixer environments.
